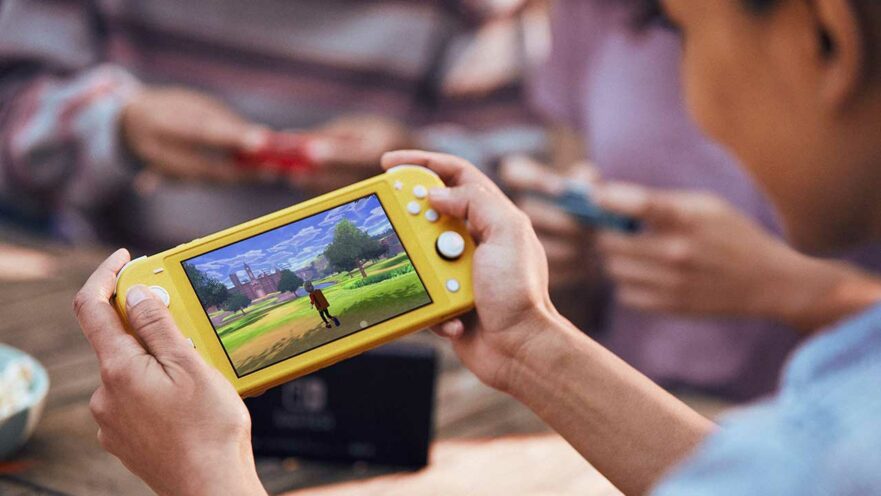
Owning a pair of Nintendo Switch Lites, one thing that we wish we would have done sooner was switch between regions to purchase games at the lowest prices. Switch games, after all, aren’t the most affordable around, especially when you compare them to the prices listed on the Xbox Store for the Argentinian market.
And unlike the Xbox Store, Nintendo‘s eShop for digital games and services hosts different sale events for different regions, so the discounted games could vary depending on the region. Some sales also take place at different times and certain countries have different tax levels. Your credit or debit card might not work in certain countries, too.
However, all those caveats shouldn’t stop you from jumping between regions to get the best deals when shopping for games. You have nothing to lose but time.
But how exactly do you switch from one region to another on your Nintendo Switch system? Read below for our step-by-step guide to changing eShop regions on everyone’s favorite portable console.
Guide
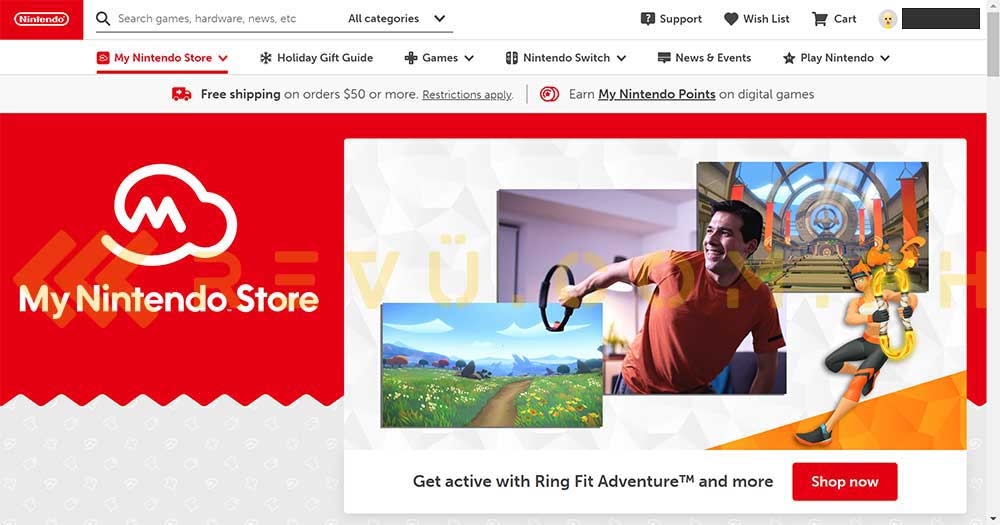
Step 1. Log in to your Nintendo account on a web browser.
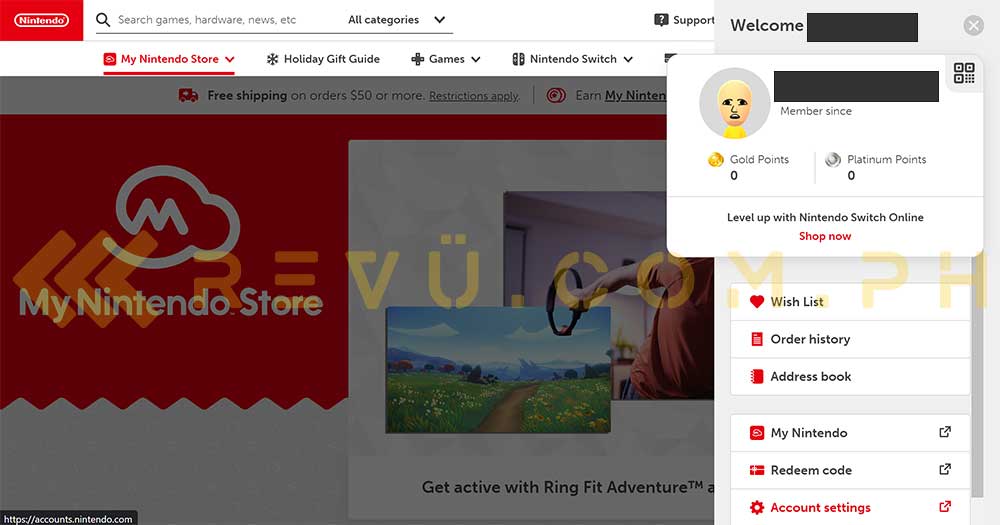
Step 2. Click on your profile on the upper-right corner and select Account settings.
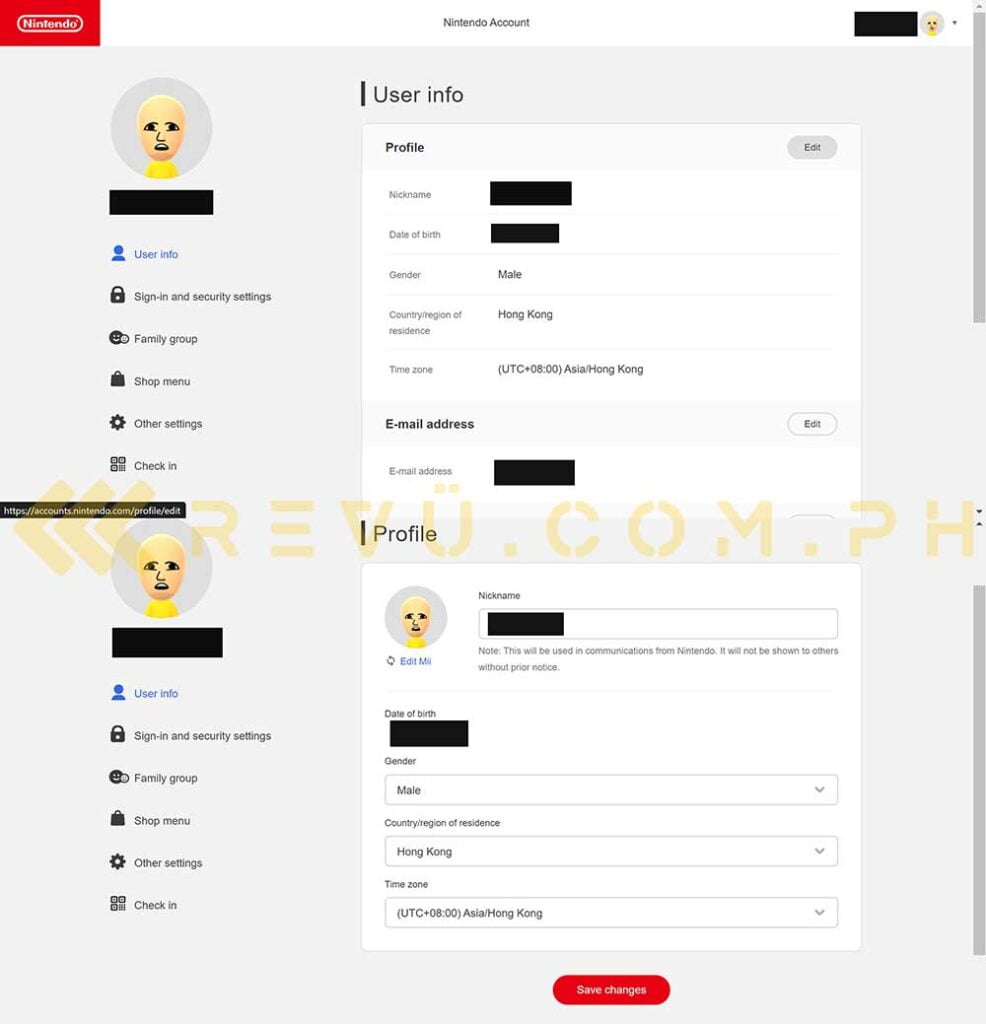
Step 3. Under User info, tap the Edit button, change your country or region of residence to your desired eShop storefront, then click Save Changes.
Step 4. Boot your Nintendo Switch console, and open the eShop app. You may need to log in again using your Nintendo account and restart your console after switching regions.
That’s it! You should be able to access your desired eShop region after a fresh boot. To make your life easier, you may want to create different profiles to access different eShop locations, as Nintendo allows users to create as many profiles as they like and use them to access each individual digital storefront.
Tips
Keep in mind that Gold Points don’t carry over between storefronts (you can’t use U.S. Gold Points on the Japanese eShop and vice versa), so feel free to use them whenever you get the chance. Another thing to note is that some games don’t have English support, so make sure to check for supported languages on the eShop before hitting the purchase button, as all sales are final.
For buying games in the Philippines, we highly suggest using Maya’s virtual Visa debit card to buy eShop games due to Visa’s more wallet-friendly conversion rates — not to mention, it works on all regions we’ve tested so far. It’s the same card we use to purchase games on the Xbox Store as well.
To shop for the cheapest Nintendo Switch games, we usually go to tracking sites like eShop Prices and Deku Deals, and then choose Switch titles from there. Another tip we swear by is to use Visa’s Exchange Rate Calculator on its official website to find out how much you’ll pay for a certain game, excluding taxes of course!
Share this Post


